Showing posts with label Almonds. Show all posts

Tuesday, 8 January 2013

THE "I'M-GONNA-BE-SELF-SUFFICIENT" WAVE


Lately i got totally into this "I'm-gonna-be-self-sufficient" wave. So, anything I can avoid buying, I decided, I will.
It requires way more time and efforts, that's for sure but, besides from the obvious thing that it's a lot healthier, do you really wanna compare a quarter of hour queue at the bakery with having your house filled with the scent of baking bread?
To the joy of opening the oven and seeing your puffy, golden brown, crunchy-at-the-outside-soft-in-the-inside loaf of bread? I don't know, I get kind of maternal feelings when it comes to food. fEspecially food that gets all puffy, I noticed.
By the way, this is not about home-made bread.
Sorry.

Well, granola, we said. Or, we wanted to.
Then, granola. Mine got bunt. Just a tiny bit, but I took pictures of it so, even though that was the first plan, I can’t deny I did. But if you wanted to use this as an argument in favour of bought granola, my answer would be “C’mon, I know you can do better than this”. And this said, wonderful thing of home-made granola is that you can just choose anything you want. I actually got into it because I had this crazy craving for some almond-honey-coconut granola, and I just couldn’t find it anywhere. So that superdangerous loop for which the more you can’t find something the more you want it started, and I was just getting crazy over almond-honey-coconut granola.
And then, I just made it myself.


INGREDIENTS:
  • 1 1/2 cups rolled oats
  • 1/2 cup shredded coconut
  • 1/2 cup silvered almonds
  • 1/4 cup ligh-brown sugar
  • 2 TBS honey
  • 2 TBS (28gr) unsalted butter

DIRECTIONS:

1. In a saucepan melt together butter and honey over low heat. Then add sugar and stir until it melts completely in butter. Remove from the fire and add 2 TBS of water.

2. In a alarge bowl, stir together oats, coconut and almonds and spread the butter mixture over it. Stir everything until evenly combined.


3. Spread the granola mixture on a baking sheet and put it in the oven pre-heated to 325F°/160C°. Bake stirring frequently until golden brown, say 25-30 minutes.


4. Store in a supercute mason-jar. (No idea of ho
w long you can actually keep it, we finished it in two days.)


Wednesday, 19 December 2012

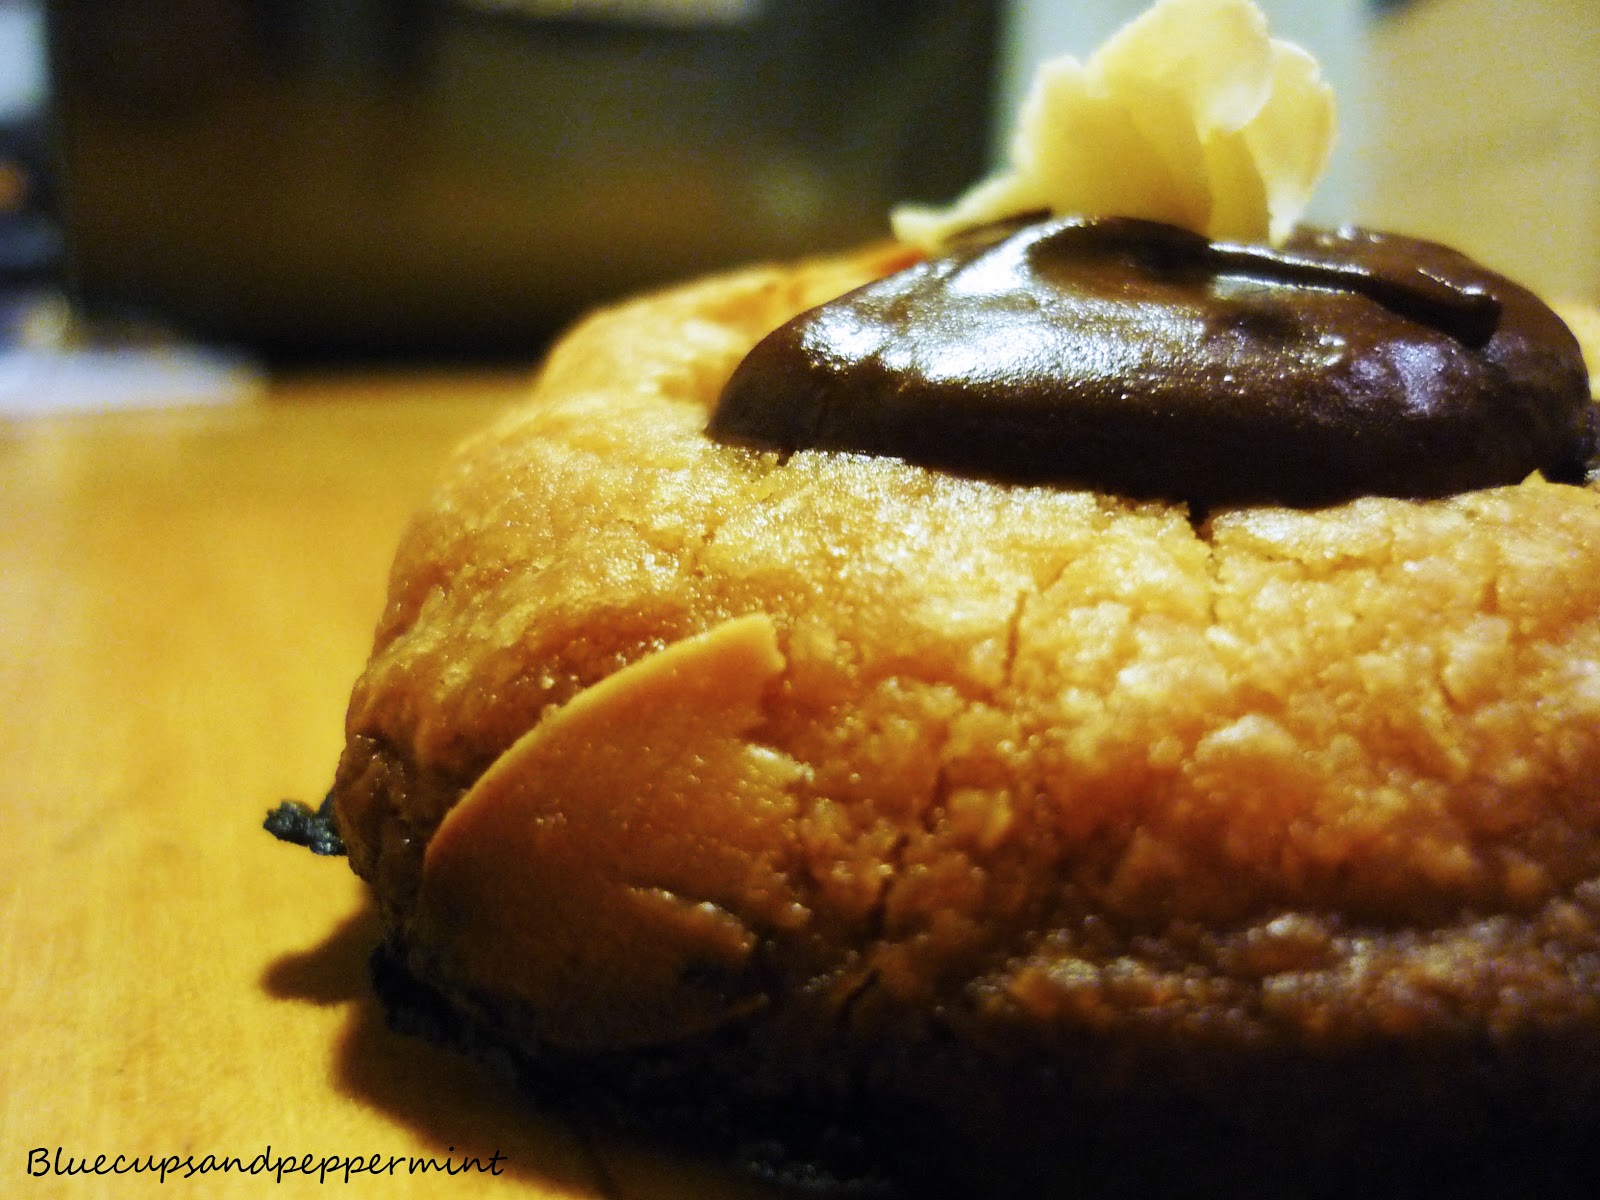
CHOCOLATE THUMBPRINT COOKIES


Maybe it’s Christmas getting closer, or maybe it’s just  the explosion of cookies pictures I see everyday on beautiful blogs, or maybe it’s just that we’re all addicted at a certain extent to butter and chocolate. Especially when they show up together. Ok, me, I am addicted to it.
In any case, you can deny it, but I know I’m not alone.
Anyway, whatever the reason, I’ve been in a thumbprint mood for days. I’ve seen pictures of these decadent cookies in perfectly circular shapes, decorated with pecans and overflowing with chocolate and caramel, looking so wow that my mouth gets watery just at the thought of them.
So of course I couldn’t try those as a first attempt at thumbprint cookies.
So, mine have no pecans, and no caramel. But they do have chocolate. And almonds. Oh-yes-they-do. And they taste awesome.

INGREDIENTS (makes 14 big cookies): 

150 gr unsalted butter
½ cup confectioners sugar
¼ teaspoon salt
1 ¼ (well, more or less. As we know) flour
1 cup sliced almonds
100 gr dark chocolate
50 additional gr butter (I misinterpreted the original recipe so, this massive amount of butter got even bigger. Sorry Martha. Well, not really.)

(By the way, this is really all you need. Once you’ll be having your cookie bite melting in your mouth, come back, re-think about how fast and easy was to make them. Now you can be even happier.)

DIRECTIONS:

In a bowl mix together butter, sugar and salt, and mix them with an electric mixer on medium speed for about 2 minutes. Well, in any case, until smooth.
Add the flour and beat again. Don’t worry if everything looks like a big bowl of crumbles. It’s fine.
Add also the almonds and knead everything with your hands. (Isn’t it just great to squeeze all that butter in your hands?)
2Now preheat oven at 350°F/180°C. In the meanwhile, form little balls with your crumble-dough and set them nicely onto the oven plate.
3-  When the oven will be perfectly warm, put your amazing-cookies-to-be in, and leave them for about 10 minutes. Then take them out and press your thumb on top of the cookies (no, use a spoon, or a cork, or whatever you want but, seriously, they’re gonna be hot. I know they’re called thumbprints. You’re safe, I’ll tell no one.) to create a nice and cozy hollow for your chocolate. Put back in the oven and leave them until they’ll be golden-brown on top, say… 7 more minutes? 8?
In the meanwhile, set two pots, one over the other, on the fire, filling the one under with water. Let’s say enough to reach the bottom of the one on top. In this one, mix together the chocolate and the 50 gr of butter, stirring from time time until you get a superinviting cream. Please don’t eat it. you will need it for the cookies.
When your cookies will be ready, take them off the oven, fill the hollows with chocolate, decorate the tops with some almonds and let cool down… and then eat loads!

(Don’t forget to finger-clean the chocolate pot.)


Related Posts Plugin for WordPress, Blogger...